|
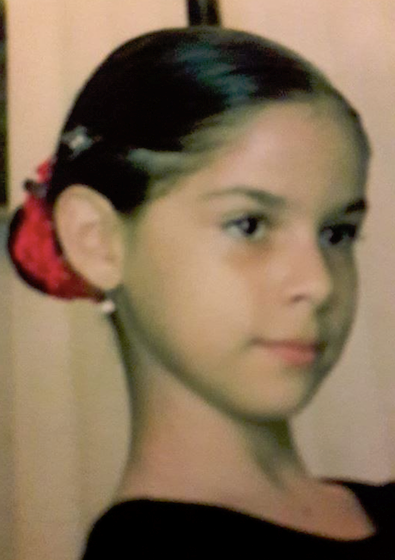
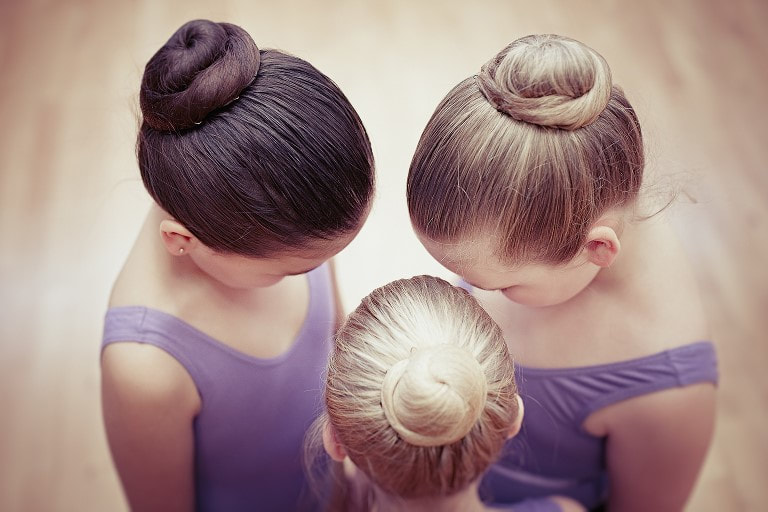
Hi! I’m teacher Mrs. Anamar Colt and I’m going to tell you here a little bit about me and four steps to make a classical ballet bun. When I was a child, my mom used to make my hair for my ballet classes and I would watch what she did. One day I surprised her by doing my ballet bun by myself. It wasn’t perfect, but it was a great achievement for my age. Here is a picture from that day. If there is a person I’m ever grateful for, that is my mom. The sacrifices that parents do for their children are absolutely worth it, never doubt about it. I believe that the art of dance is perfect for kids and teenagers to express themselves and transmit their feelings to somebody else. As a dancer I know that it is very important the appearance to feel good in class. Having a clean uniform and my hair done, gives me confidence and prepares me to start dancing. Remember it is really important that the dancers get their hair up, to ensure a better performance and avoid any accidents in class. I am going to give you some tips that you could follow to make that unique classical ballet bun. Materials:
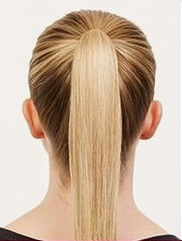
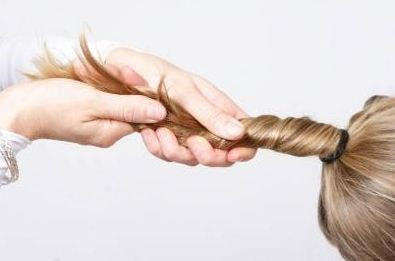
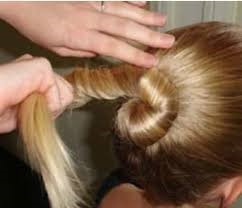
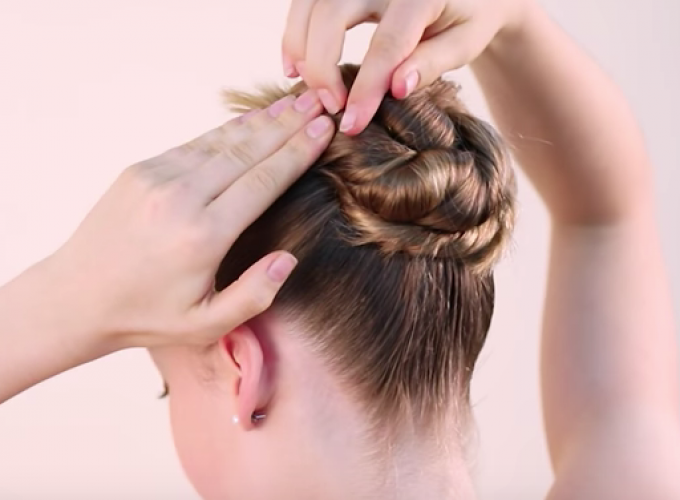
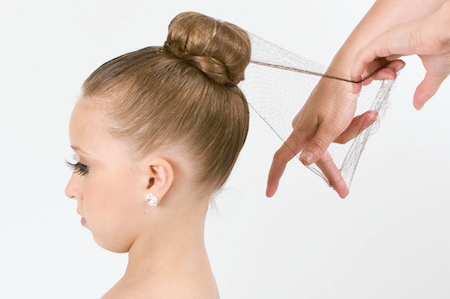
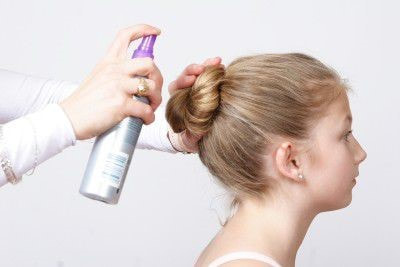
*Note: Be sure you are using the elastic hair ties, bobby pins and hair net matching the same color as dancer’s hair. Step 1: Using the hairbrush or comb, brush the hair back into a ponytail. Apply hairspray or gel to tame wisps and strands of hair that are not long enough to reach the ponytail. Then secure the ponytail with an elastic hair tie. Depending on the dance you could make the bun down on the neck, middle of the head or higher. So make sure you know which one is required for your character in the show. For weekly class, you can do the height of the bun wherever you are comfortable. Step 2: Twist the ponytail and put in pins. Start twisting the hair and put it around the center making a tight circle. Then secure the twist with the bobby pins or hairpins by putting them as many as you need. To do this, open the pin and then make sure the pin grabs part of the hair from the twist and goes straight in the head. If the dancer feels a constant pain when the pin is applied remove it and put it again until there is no pain. If you have a lot of hair you can divide the pony tale in two parts and twist them apart. Put one twist around first with pins and then the other twist. Depending on your hair if is thin or thicker you will like to use the bobby pins to grab bumps and thin hairs and the hairpins for thicker parts. Step 3: Put the hair net on. Wrap the hair net around the bun to catch loose hairs. With a few twists the net should be tight on the bun and you can put some pins to secure it. You can also insert more pins around the bun to re-shape or secure loose parts of the bun. Step 4: Use hair spray or gel to secure hair around the face or any loose strands. This step it is fundamental for shows, but for class, do so as needed. Final look!
2 Comments
9/11/2018 04:08:26 am
Before anything else, I want to thank Mrs. Anamar Colt for teaching us how to achieve this simple yet beautiful hairstyle! classical ballet bun seems easy to do in our hair, but there's so much effort you need to exert if you will do it on your own hair. Ballet dancers are always required to look neat and clean, that's why classical ballet bun was invented. In all fairness, it makes your aura even more pleasant. I will teach my daughter to achieve this hairstyle once she is old enough and capable to make this.
Reply
Ginger
12/31/2020 01:15:08 pm
Can male dancers with long hair use this technique?
Reply
Leave a Reply. |
Archives
March 2023
Categories |
 RSS Feed
